At what stage of renovation work should a flush-mounted skirting board be installed?
Why are skirting boards an important element of the interior?
Skirting boards are a finishing element of any interior that adds beauty and style to it. They not only hide the joints between the floor and the walls, but also protect them from damage that can occur due to impacts, washing and other activities. Skirting boards in various shapes and sizes also help to create a perfectly finished interior. Depending on the desired effect, skirting boards can be installed in various ways - visible or hidden. In this article, we will look at at what stage of renovation work it is recommended to install a plasterboard.

Advantages of flush-mounted skirting boards
Before we move on to the installation phase of flush-mounted skirting boards, let's take a look at some of their advantages:
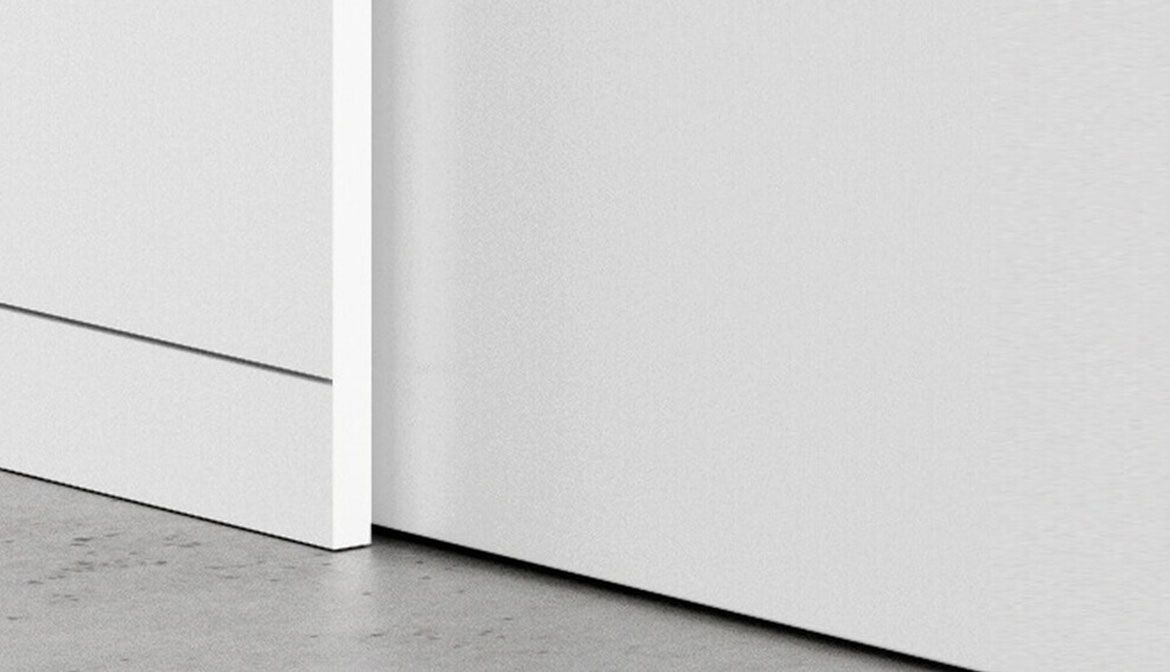
- Aesthetic appearance. Flush-mounted skirting boards provide clean lines and will be almost invisible in the interior. They are perfect for modern or minimalist designs where the goal is to create a clean and elegant look.
- Easier installation. It has been attaching directly to the wall, eliminating the need for visible fixings or connections. This simplifies the installation process and ensures a smooth surface.
- Easier cleaning. With no visible seams, flush-mounted skirting boards make it easy to clean the room. There is no need to keep the narrow gaps between the skirting board and the wall clean, which makes it easier to keep the room perfectly clean.
When to install flush-mounted skirting boards?
The stage of installation of flush-mounted skirting boards depends on the sequence of renovation works. Here are the recommended steps for installing flush-mounted skirting boards:

- Preparation of walls and floor. Make any necessary repairs to the walls and floor first. Clean the surfaces of dust and dirt and make sure they are even and ready for skirting boards.
- Wall and floor covering. The next step is to cover the walls and floor with the selected covering (tiles, laminate, parquet, etc.). It is important to make sure that the floor is the right size so that the skirting boards can fit snugly.
- Assembling the slats. After covering the floor and walls, proceed to the installation of skirting boards. Use tools to accurately measure and cut the slats at an angle if necessary. Fix the skirting boards to the wall with screws or dowels. If you choose the hidden glue option, apply glue to the back of the skirting board and press it against the wall.
- Sealing connections. After installing the skirting boards, fill the joints between the skirting boards and the wall with joint compound. After the filler has dried, sand the surface to ensure a smooth and even appearance.
After completing all these steps, the flush-mounted skirting boards will look clean, stylish and invisibly complement the interior. Remember that well-matched skirting boards not only ensure cleanliness and beauty, but also longevity of the interior.


