What tool is needed to install the hidden plinth
Entry
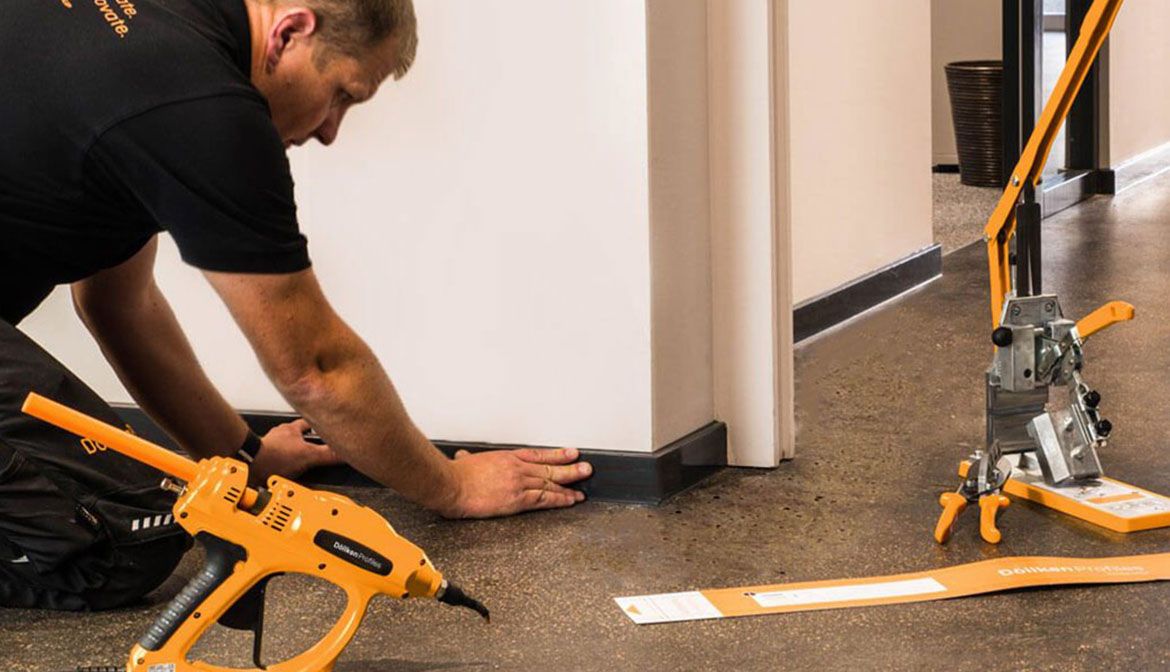
The hidden plinth is an elegant and stylish solution for finishing the joints of walls and floors, which gives the interior completeness and purity. Installing a hidden skirting board can seem like a daunting task, but with the right tools and the right approach, the task becomes easy and fun. In this article, we will take a look at what tool is needed to install a skirting board so that you can handle this task professionally and without much effort.
Preparatory work

Before proceeding with the installation of the hidden plinth, it is necessary to carry out preparatory work. Measure the length of each wall where the skirting board will be installed and find the corner points of the room. It is important to mark the places where the plinth cuts will be made for connection at the corners. Remove all obstacles and ensure a level and clean base for the installation of the skirting board.
Hidden pedestal installation tools
Tool list:
- Pedestal saw. You will need a hacksaw or a skirting board screw to cut the corner skirting and make any longitudinal adjustments. Reciprocating saws ensure precise cuts and clean edges.
- Marker or pencil. Use a marker or pencil to mark cutting and installation points on baseboards and walls. This will help to maintain the accuracy and accuracy of the installation.
- Screws or dowels. You will need screws or dowels to attach the hidden plinth to the wall, the choice depends on the type of wall and the material of the plinth.
- Hole saw or drill. If you need dowels to attach the skirting board, you will need a hole saw or drill bit to make holes in the wall.
- Crimping tool. Clamps or pliers can be used to join the ends of the skirting board at the corners to help keep the skirting in place during installation.

Stages of installation of a hidden plinth
Installation Steps:
- Measuring and cutting. Take accurate measurements of the dimensions of the walls and baseboards. If necessary, cut the plinth in the necessary places.
- Marking of attachment points. With a marker or pencil, mark the mounting points of the plinth on the walls.
- Plinth fixing. Fix the plinth to the wall with screws or dowels as marked.
- Connection at the corners. Connect the adjacent ends of the plinth with clamps or pliers. Make sure the connection is tight and without visible gaps.
- Closing the contacts. If necessary, the plinth contacts should be closed with special corner plugs or putty.
Application

Installing a concealed skirting board is a simple task that you can do yourself with the right tools and techniques. Ensure proper preparation, use specific tools, and follow installation instructions. Thanks to this, you can create a wonderful interior with clean and elegant lines of the floor and walls that will add charm and completeness to the room.


