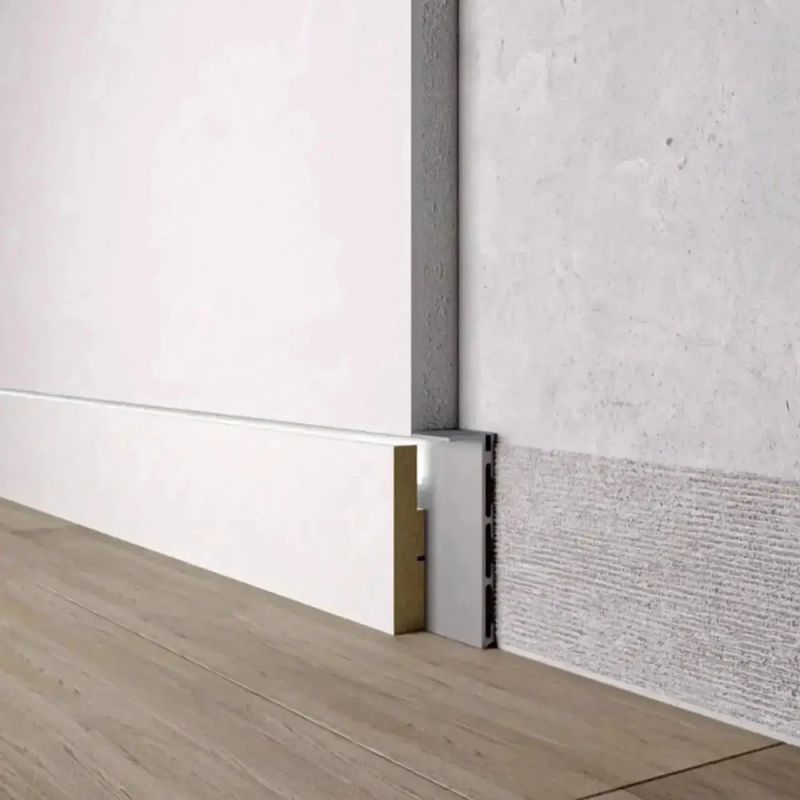
Step by step: how to install a flush-mounted skirting board in your home
Preparation for the installation of the skirting board
Before starting the installation of a flush-mounted skirting board, it is important to prepare the surfaces and materials properly to ensure reliability and good appearance. Here are some steps to follow:
- Wall preparation: Check the condition of the walls for unevenness, cracks or traces of paint. Smooth the surface, filling any cracks and getting a smooth base for wall preparation. Remove any traces of paint or other contaminants with a spatula and sandpaper.
- Measure the room: Using a tape measure or ruler, measure the length of the walls where you plan to install the skirting board. Note the measurements to determine the correct amount of material required.
- Choose the material: Considering the style of the interior, choose the flush-mounted molding that will fit best. Pay attention to the material of the skirting board, such as wood, MDF or polyurethane, as well as its color and pattern.
Installation of a flush-mounted skirting board
- Measure and cut the skirting board: Using the measurements taken previously, measure the required length of the skirting board on each wall. Use a circular or electric saw to cut the skirting board at the right angle.
- Prepare the mounting system: The flush-mounted skirting board is mounted using a mounting system consisting of a base and fixing elements. Using drills and screws, fasten the skirting board base to the wall along its entire length.
- Install the skirting board: Fix the skirting board to the base using the locks or the fixing system supplied with the chosen skirting board. Place each element of the skirting board on the base and press down to ensure a firm connection.
Finishing the installation of the skirting board
- Tighten the fasteners: After attaching all the elements of the skirting board to the base, check that all connections are secure and stable. Tighten the fasteners if necessary to ensure that the skirting board is stable.
- Closing Gaps: Fill any gaps between the skirting board and the wall or floor with filler or foam adhesive. After drying, sand the surface to ensure a smooth and even finish.
- Finishing: After completing the installation of the skirting board, remove any construction debris and ensure that the surface of the skirting board is clean. If necessary, paint or varnish the skirting board to make it look like new and match the interior.
Conclusions
Installing flush-mounted skirting boards can seem like a daunting task, but with the right steps and proper preparation, you can achieve a professional result. Remember that safety is the most important aspect of any job. Work carefully, wear protective gloves and glasses, and avoid contact with electricity. Allow yourself enough time to complete each step and take your time to get the best possible result. With the right preparation, tools and careful execution of each step, you can enjoy a harmonious and complete look of your interior with a flush-mounted skirting board.


